Gas Fireplace Thermocouple: Complete Troubleshooting Guide
A gas fireplace thermocouple is one of the most critical safety components in your heating system, yet many homeowners don’t understand how it works or why it fails. This small but mighty device serves as the guardian of your fireplace, detecting whether the pilot light is burning and preventing dangerous gas leaks. When your thermocouple malfunctions, your entire fireplace becomes inoperable—and for good reason. Understanding how to troubleshoot and maintain this essential component can save you time, money, and ensure your family remains safe.
In this comprehensive guide, we’ll explore everything you need to know about gas fireplace thermocouples, from basic operation to advanced troubleshooting techniques. Whether you’re experiencing a flickering pilot light, complete ignition failure, or intermittent shutdowns, this resource will help you diagnose the problem and determine whether you need professional intervention or can handle repairs yourself.
What Is a Gas Fireplace Thermocouple?
A thermocouple is a small temperature-sensing device that consists of two different metals joined together at one end. When heat is applied to the junction, it generates a tiny electrical voltage—typically between 15 and 30 millivolts. This voltage tells your fireplace’s control system that the pilot light is burning safely. Think of it as your fireplace’s smoke detector: it confirms that combustion is occurring before allowing gas to flow to the main burner.
The thermocouple is positioned directly in the pilot flame, where it experiences intense heat. This strategic placement allows it to quickly detect if the pilot light goes out. If the thermocouple loses heat for more than a few seconds, the system shuts off the gas supply immediately, preventing dangerous gas accumulation in your home. This safety feature has been standard in gas fireplaces for decades and remains one of the most important protections in modern heating systems.
Understanding the importance of your gas fireplace’s thermocouple helps you appreciate why even minor malfunctions require attention. This component directly impacts both the functionality and safety of your heating system, making it essential to keep it in optimal working condition.
How Thermocouples Work in Gas Fireplaces
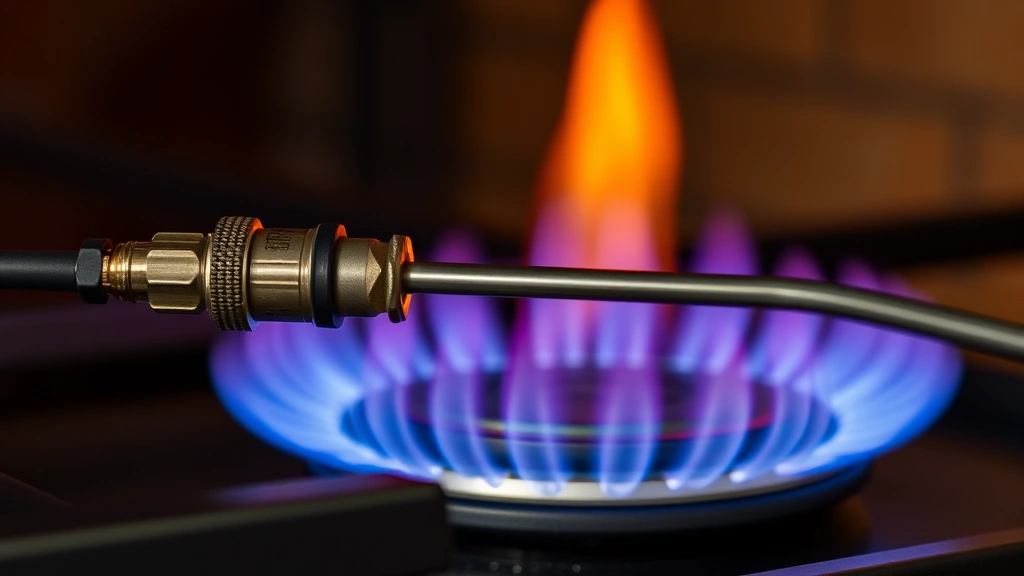
The thermocouple operates on a principle called the Seebeck effect, a thermoelectric phenomenon discovered in 1821. When two dissimilar metals are joined and exposed to different temperatures, they generate electrical voltage. In your gas fireplace, one end of the thermocouple sits in the pilot flame (hot junction), while the other end connects to the control valve (cold junction). This temperature difference creates the voltage that keeps your system operational.
Your fireplace’s control system constantly monitors the voltage signal from the thermocouple. When you ignite the pilot light, the thermocouple heats up within seconds and generates sufficient voltage to energize an electromagnet in the gas valve. This electromagnet holds the valve open, allowing gas to flow. As long as the pilot flame burns and the thermocouple remains hot, the valve stays open. If the pilot extinguishes, the thermocouple cools, voltage drops, and the electromagnet releases, closing the valve and stopping gas flow.
This elegant safety mechanism requires no batteries, no electrical power source, and no complex electronics. It’s a purely mechanical process that has proven incredibly reliable over generations. However, when the thermocouple becomes dirty, corroded, or damaged, this voltage generation fails, and your fireplace won’t operate properly. Proper maintenance is essential for ensuring consistent performance.
IMAGE_2
Common Thermocouple Problems and Symptoms
Recognizing thermocouple issues early can prevent complete fireplace failure and maintain safety. The most common symptom is a pilot light that won’t stay lit or goes out frequently. You might notice the pilot ignites briefly when you apply the ignitor, but then extinguishes within seconds or minutes. This typically indicates that the thermocouple isn’t generating sufficient voltage to keep the electromagnet energized.
Another frequent problem is a weak or no pilot flame. Even if the pilot stays lit, a diminished flame means less heat reaches the thermocouple, reducing voltage output. This can cause the main burner to ignite weakly or not at all. You might also experience intermittent operation, where your fireplace works fine sometimes but fails unpredictably other times. This inconsistency often points to a thermocouple that’s partially compromised or corroded.
Black soot accumulation on the thermocouple is a visible indicator of problems. This carbon buildup insulates the device from heat, reducing voltage generation. Additionally, if you hear a clicking sound from the fireplace but it won’t ignite, the thermocouple might be failing to generate enough voltage to energize the ignition system. Some homeowners also report a strong gas smell when the fireplace won’t operate—this is the safety system working correctly by cutting off gas flow when it detects a problem.
Corrosion is another serious issue. Thermocouples exposed to moisture, salt air, or certain chemical vapors can develop corrosion that interferes with electrical conductivity. This is particularly common in coastal areas or homes with high humidity. Physical damage from improper cleaning or accidental contact can also cause thermocouple failure.
Step-by-Step Troubleshooting Guide
Before attempting any troubleshooting, ensure your gas supply is on and that your fireplace has power (if it’s an electronic ignition system). Safety should always be your first priority when working with gas appliances.
Step 1: Visually Inspect the Thermocouple Look inside your fireplace and locate the thermocouple—it’s a thin, metallic rod positioned in or near the pilot flame. Check for visible damage, bending, or black soot accumulation. If it’s bent away from the pilot flame, even slightly, it won’t receive adequate heat. A bent thermocouple typically needs replacement rather than straightening.
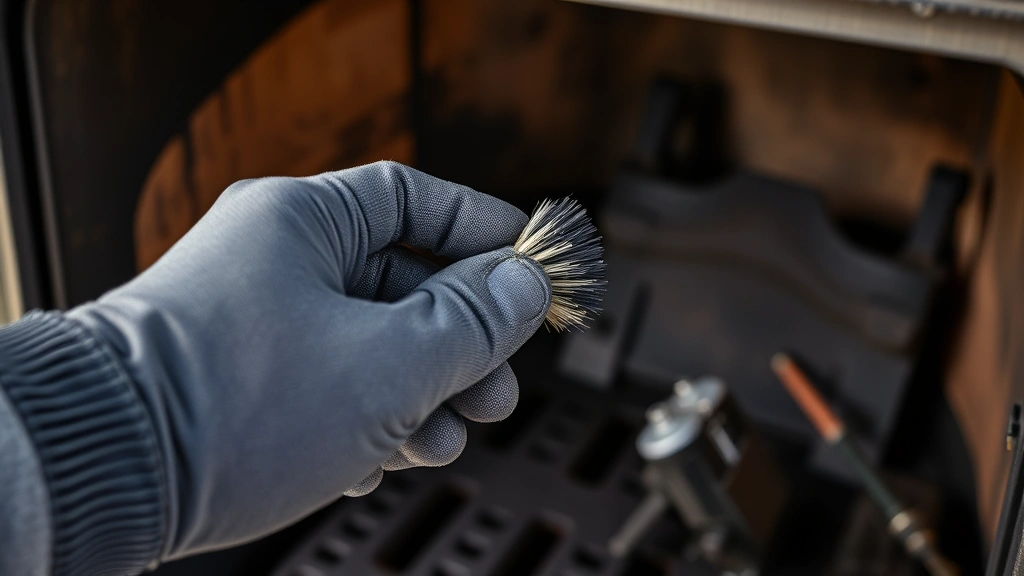
Step 2: Clean the Thermocouple If you see soot buildup, carefully cleaning it might restore function. Turn off the gas supply and let the fireplace cool completely. Use a soft brush or cloth to gently wipe away carbon deposits. Avoid harsh scrubbing that could damage the device. A soft-bristled toothbrush works well for this purpose. Never use abrasive materials or chemical cleaners.
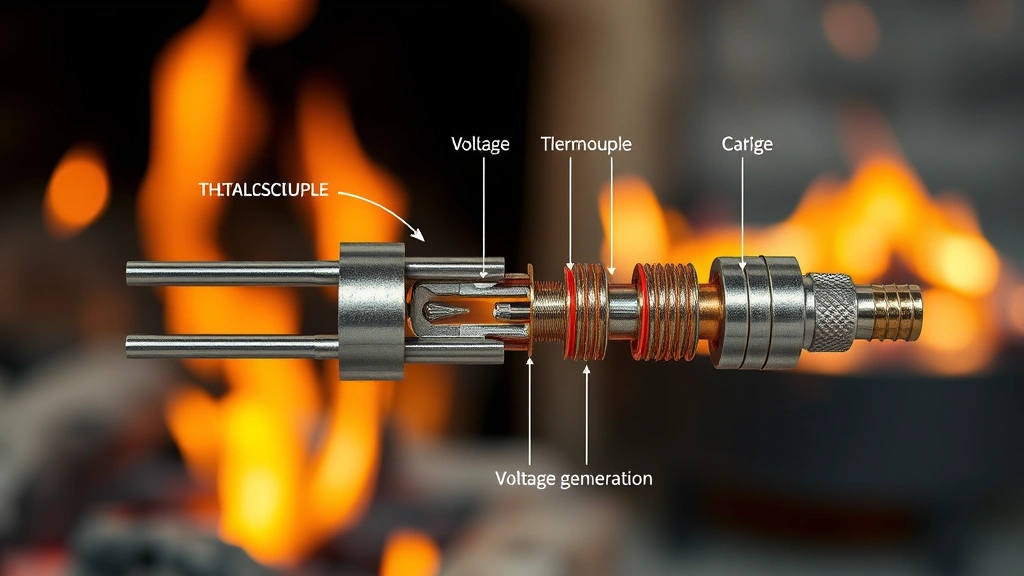
Step 3: Test the Pilot Light Relight the pilot and observe its color and strength. A healthy pilot flame should be bright blue with a small yellow tip, reaching approximately one-half inch in height. A weak, yellow, or flickering flame indicates either a gas supply problem or a thermocouple issue. The flame should fully engulf the thermocouple bulb.
IMAGE_3
Step 4: Check the Thermocouple Connection Locate where the thermocouple connects to the gas control valve. This connection should be tight and free from corrosion. Gently tighten the connection nut using an adjustable wrench if it appears loose. Corroded connections might need careful cleaning with a wire brush. If the connection is severely corroded, the thermocouple likely needs replacement.
Step 5: Measure Thermocouple Voltage If you have a multimeter, you can test the thermocouple’s voltage output. Set your multimeter to measure DC millivolts. With the pilot light burning, place the multimeter probes on the thermocouple terminals. A reading between 15-30 millivolts indicates proper function. A reading below 10 millivolts suggests the thermocouple is failing. No reading at all means the thermocouple is dead and needs replacement. This test requires some electrical knowledge, so don’t attempt it unless you’re comfortable using a multimeter.
Step 6: Verify Gas Supply Ensure gas is flowing to your fireplace. If you smell gas but the pilot won’t light, the thermocouple might not be the problem. Check that the main gas valve is open and that your gas meter shows consumption. A gas leak at the supply line requires immediate professional attention.
Cleaning and Maintenance Best Practices
Regular maintenance prevents most thermocouple problems and extends the lifespan of your fireplace. Schedule annual inspections before the heating season begins, particularly if you live in an area with high humidity, salt air, or dusty conditions. During gas fireplace maintenance, pay special attention to thermocouple condition.
Clean your fireplace interior regularly to prevent soot accumulation. Use a vacuum with a hose attachment to remove dust and debris from the firebox. This prevents carbon from settling on the thermocouple. For the thermocouple itself, use only soft, non-abrasive cleaning methods. A soft cloth dampened with water works well for light cleaning. Never use compressed air, as the force can damage the delicate device.
Inspect the thermocouple position monthly during heating season. Vibration from the fireplace can gradually shift its position away from the pilot flame. If you notice it’s no longer centered in the flame, carefully reposition it using needle-nose pliers. Handle it gently to avoid bending or breaking the probe.
Check thermocouple connections quarterly for corrosion or looseness. Tighten any loose connections carefully, using an appropriate wrench size. If you notice white or green corrosion, clean it with a wire brush and apply a thin coat of dielectric grease to prevent future corrosion. This is particularly important in humid climates.
Keep your fireplace area clean and dust-free. Dust drawn into the fireplace during operation can accumulate on the thermocouple, reducing heat transfer. Ensure air vents aren’t blocked by furniture, curtains, or other objects. Proper airflow helps maintain optimal pilot flame temperature and thermocouple performance.
When to Replace Your Thermocouple
Even with excellent maintenance, thermocouples eventually wear out and require replacement. Most thermocouples last 5-10 years, depending on usage, environmental conditions, and maintenance quality. If your thermocouple is over 10 years old and causing problems, replacement is usually more cost-effective than continued troubleshooting.
You should definitely replace your thermocouple if it’s bent, visibly damaged, or corroded beyond cleaning. A thermocouple with cracks, breaks, or metal fatigue cannot be repaired and poses safety risks. If cleaning and maintenance haven’t resolved your pilot light issues, replacement is the next logical step.
Modern replacement thermocouples are inexpensive, typically costing $15-40 for the part itself. Installation usually takes 15-30 minutes for someone with basic mechanical skills. Many hardware stores and online retailers stock thermocouples compatible with popular fireplace models. Before purchasing a replacement, verify your fireplace model number and thermocouple type to ensure compatibility.
When replacing your thermocouple, you have an opportunity to upgrade to improved models. Some newer thermocouples offer enhanced corrosion resistance or improved heat transfer. If your fireplace is in a particularly challenging environment, investing in a higher-quality thermocouple can provide better long-term reliability.
Professional Help and Safety Considerations
While many thermocouple issues can be troubleshot by homeowners, certain situations require professional expertise. If you’re uncomfortable working with gas appliances, have any doubt about safety, or if your troubleshooting doesn’t resolve the problem, contact a qualified technician. Gas fireplace repairs near me services can provide professional diagnosis and repair.
Never attempt repairs if you smell strong gas odors, as this indicates a potential leak requiring immediate professional attention. If your fireplace has been inactive for several months, have it professionally inspected before using it again. A technician can ensure the thermocouple and all safety systems function properly.
For gas fireplace installation of new units, professional installation ensures proper thermocouple positioning and system calibration. This investment provides peace of mind that your safety systems are correctly configured.
If you have a natural gas fireplace, understand that thermocouple maintenance is critical for safety. Natural gas leaks are extremely dangerous, making the thermocouple’s safety function invaluable. Similarly, if you own a vented gas fireplace, proper thermocouple function ensures combustion products are expelled safely through the venting system.
For homeowners with ventless gas fireplace systems, thermocouple maintenance is equally important, as these units have no external venting and rely entirely on safety systems to prevent dangerous gas accumulation.
When in doubt, consult the manufacturer’s manual or contact a certified HVAC technician. Professional help is always the safer choice when dealing with gas appliances. Your safety and that of your family should never be compromised by DIY attempts that exceed your skill level.
FAQ
How long do gas fireplace thermocouples typically last?
Most thermocouples last between 5-10 years with regular maintenance. Factors affecting lifespan include usage frequency, environmental conditions, humidity levels, and maintenance quality. Thermocouples in coastal areas or high-humidity climates may have shorter lifespans due to corrosion. Regular cleaning and inspection can help maximize thermocouple longevity.
Can I clean my thermocouple with chemical cleaners?
No, avoid chemical cleaners as they can damage the thermocouple or leave residues that interfere with operation. Use only soft, non-abrasive methods like gentle brushing or wiping with a slightly damp cloth. Water is generally safe for cleaning thermocouples, but ensure the device is completely dry before relighting your fireplace.
What does a millivolt reading below 10 mean?
A millivolt reading below 10 indicates your thermocouple is generating insufficient voltage to reliably operate your fireplace’s safety system. This typically means the thermocouple is failing and should be replaced. A healthy thermocouple produces 15-30 millivolts when heated by the pilot flame.
Is it safe to straighten a bent thermocouple?
While minor bends might be carefully straightened using needle-nose pliers, significant bends usually indicate metal fatigue and weakening. A bent thermocouple often develops internal damage that compromises its electrical properties. It’s generally safer and more reliable to replace a bent thermocouple rather than attempt straightening it.
Why is my thermocouple covered in black soot?
Black soot accumulation indicates incomplete combustion of your pilot light. This can result from a dirty pilot orifice, improper gas-to-air ratio, or insufficient oxygen reaching the flame. While cleaning the soot helps temporarily, you should also investigate the underlying cause. A sooty pilot typically indicates problems beyond just thermocouple cleaning.
Can a thermocouple fail suddenly or does it gradually degrade?
Thermocouples typically degrade gradually, showing symptoms like weak pilot lights or intermittent operation before complete failure. However, physical damage, severe corrosion, or manufacturing defects can cause sudden failure. Regular inspection helps catch degradation early before complete fireplace shutdown occurs.
How much does a thermocouple replacement cost?
Replacement thermocouples typically cost $15-40 for the part, with professional installation adding $100-200 in labor. DIY installation for those with mechanical skills can save labor costs. The total investment is relatively modest compared to the safety benefits and reliable fireplace operation you gain.
What’s the difference between thermocouples and thermistors?
Thermocouples generate voltage when heated (passive devices requiring no power), while thermistors are resistive devices that change resistance based on temperature (requiring external power). Most gas fireplaces use thermocouples because they operate without external power, making them inherently safer for gas appliance control.
External Resources for Further Learning: